How To Store Terraform State in Terraform Cloud (Free Tier).
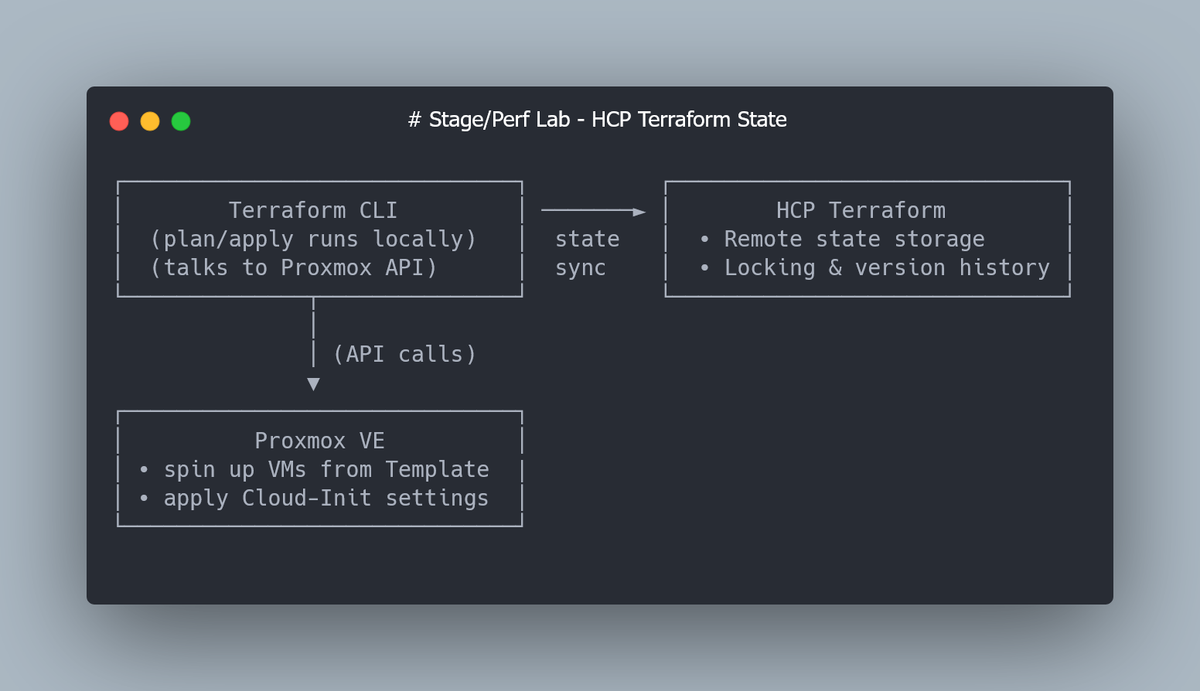
By default, Terraform writes its state (terraform.tfstate) locally.
That’s fine for quick experiments, but it has two problems:
- Local state can be lost or corrupted.
- Multiple people (or multiple shells) can’t safely run Terraform at the same time.
HashiCorp offers a free service — Terraform Cloud — which solves both problems.
It stores your state remotely, handles locking automatically, and keeps a full version history.
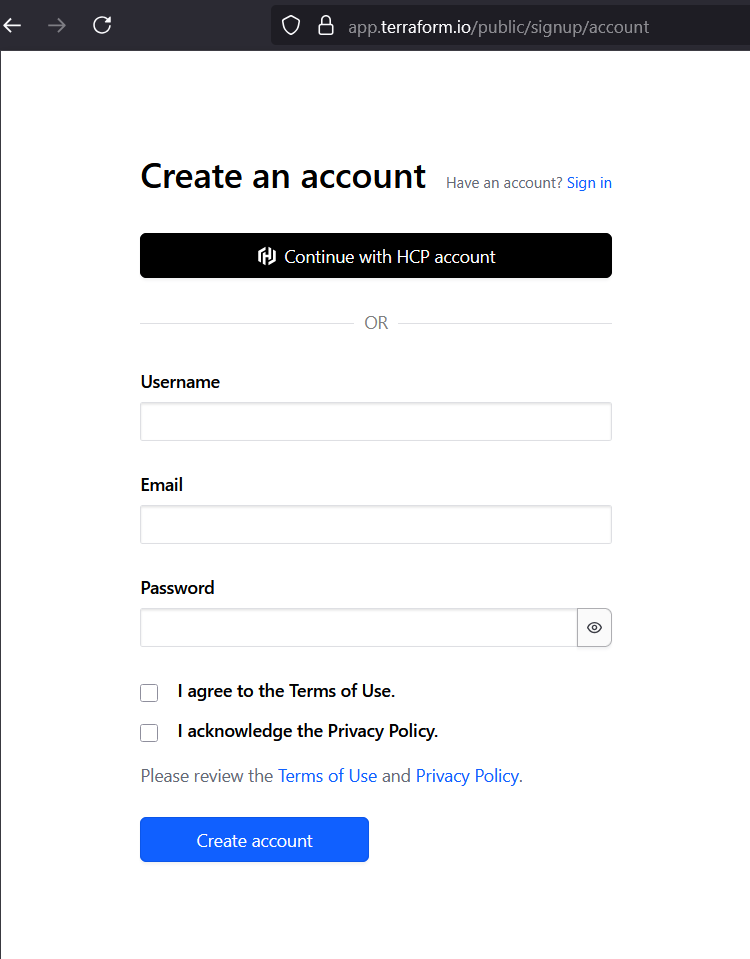
1.1 Register for a free account
Go to Terraform Cloud and create a free account.
The Free tier includes:
- Remote state storage
- State locking
- Version history
- Up to 5 team members
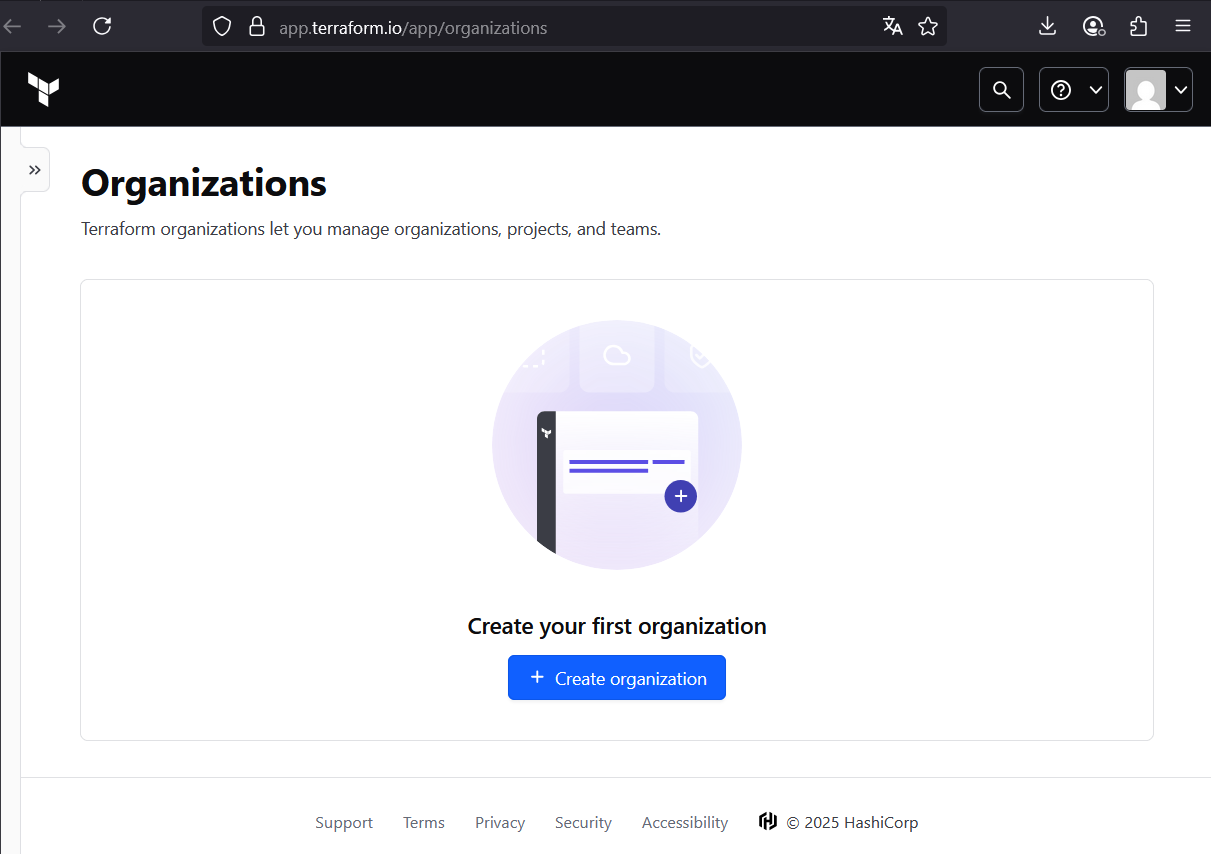
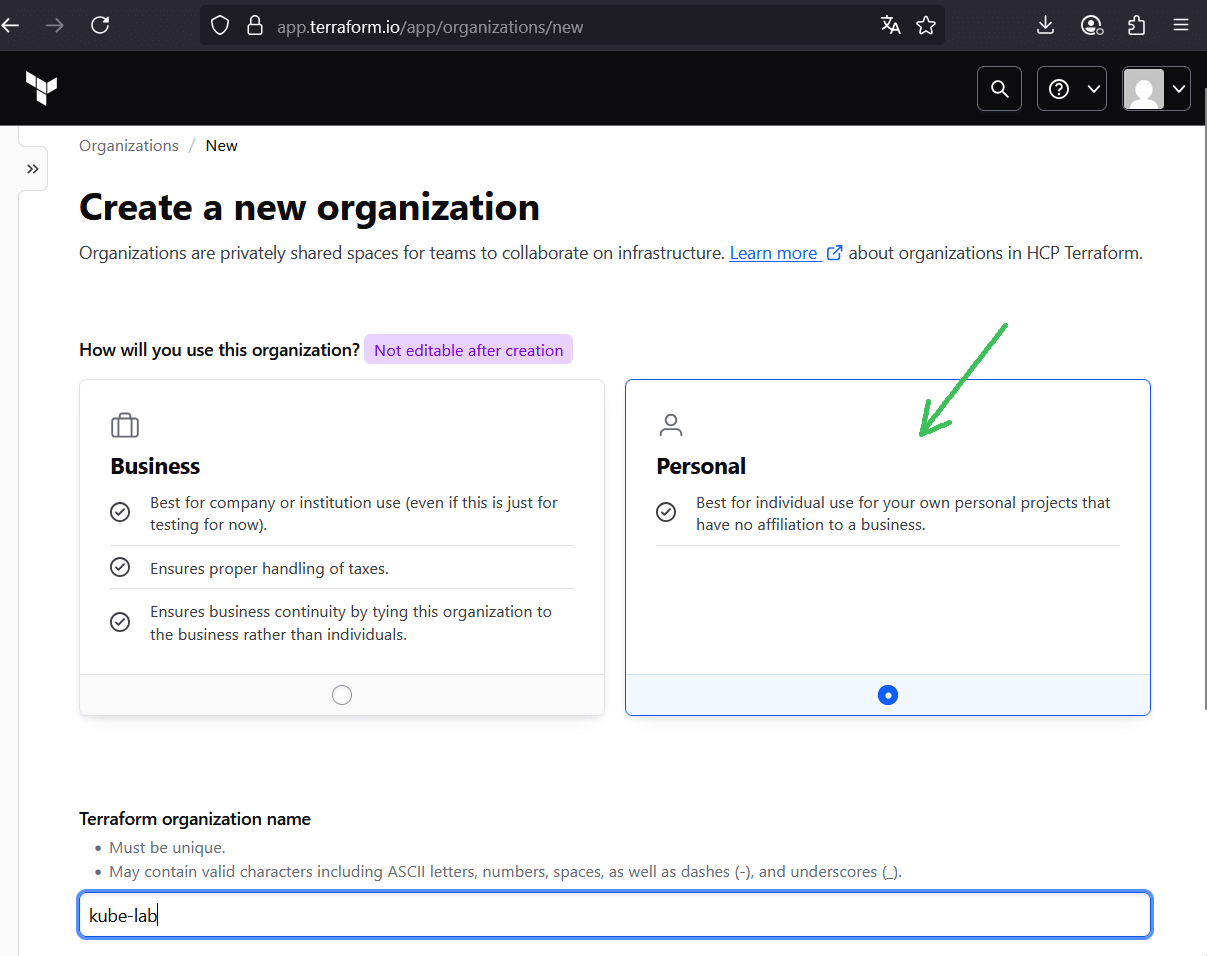
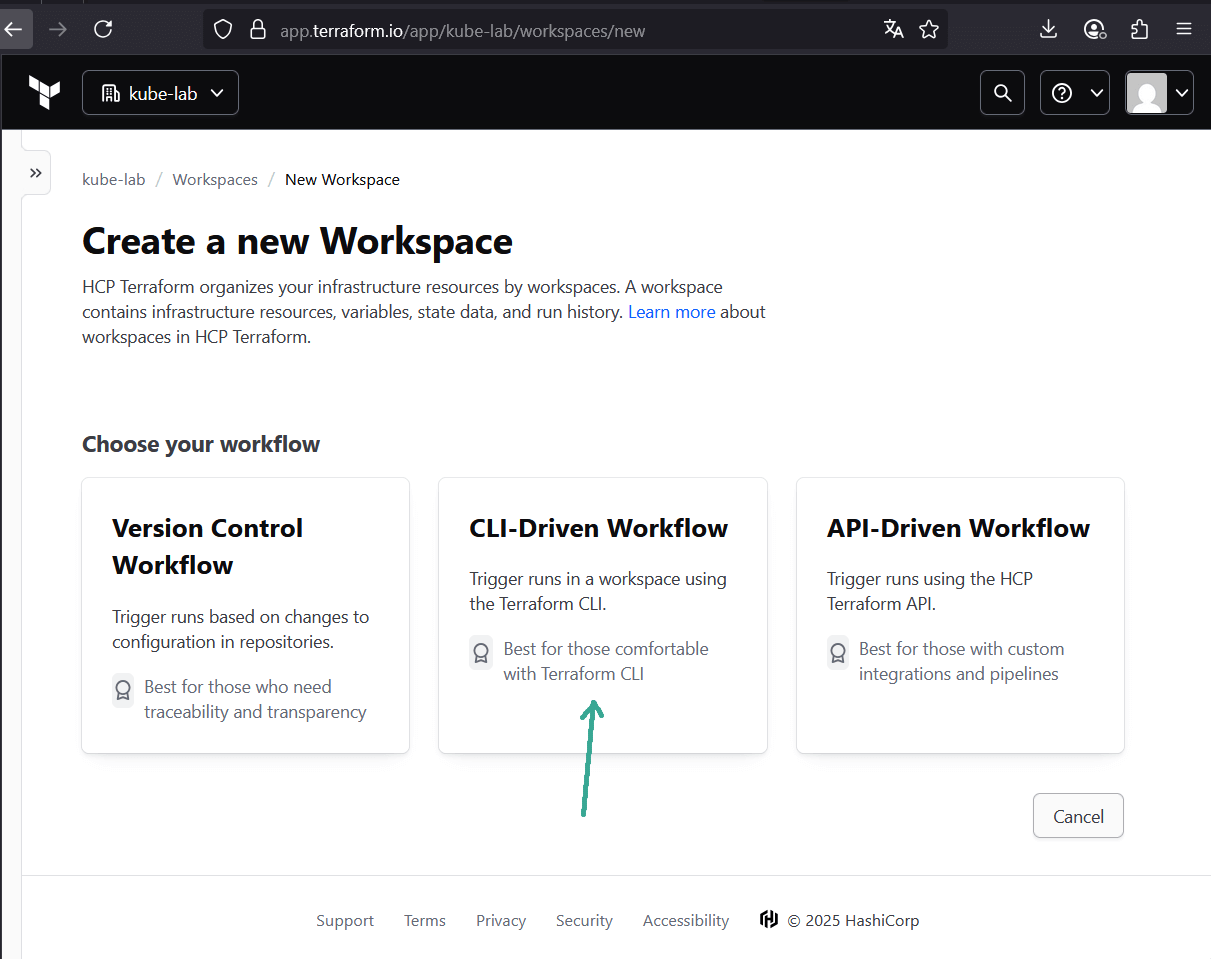
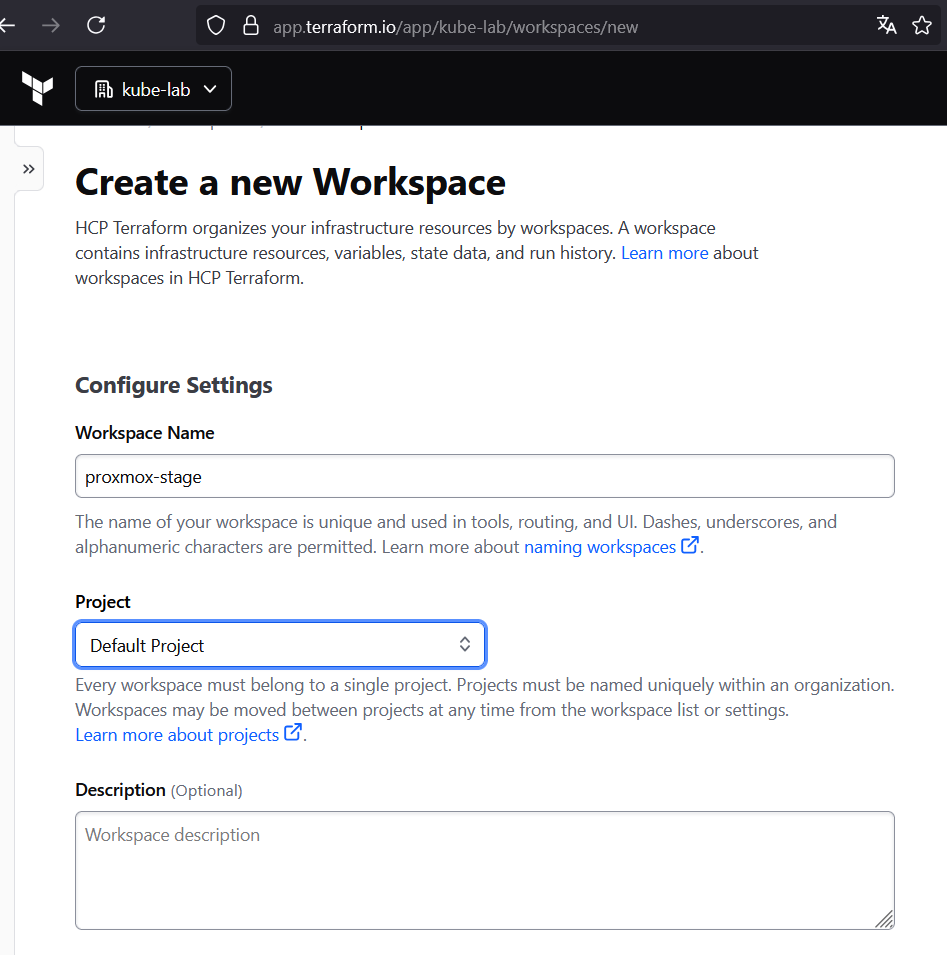
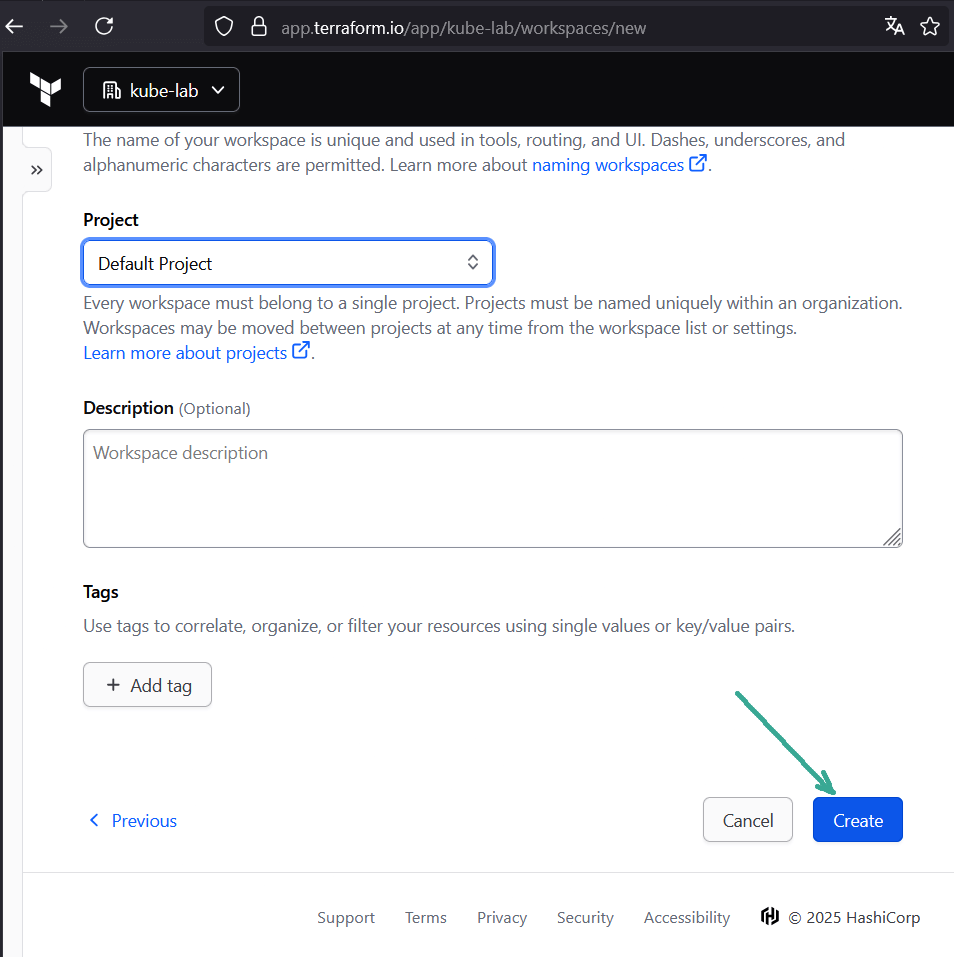
1.2 Create an organization and workspace
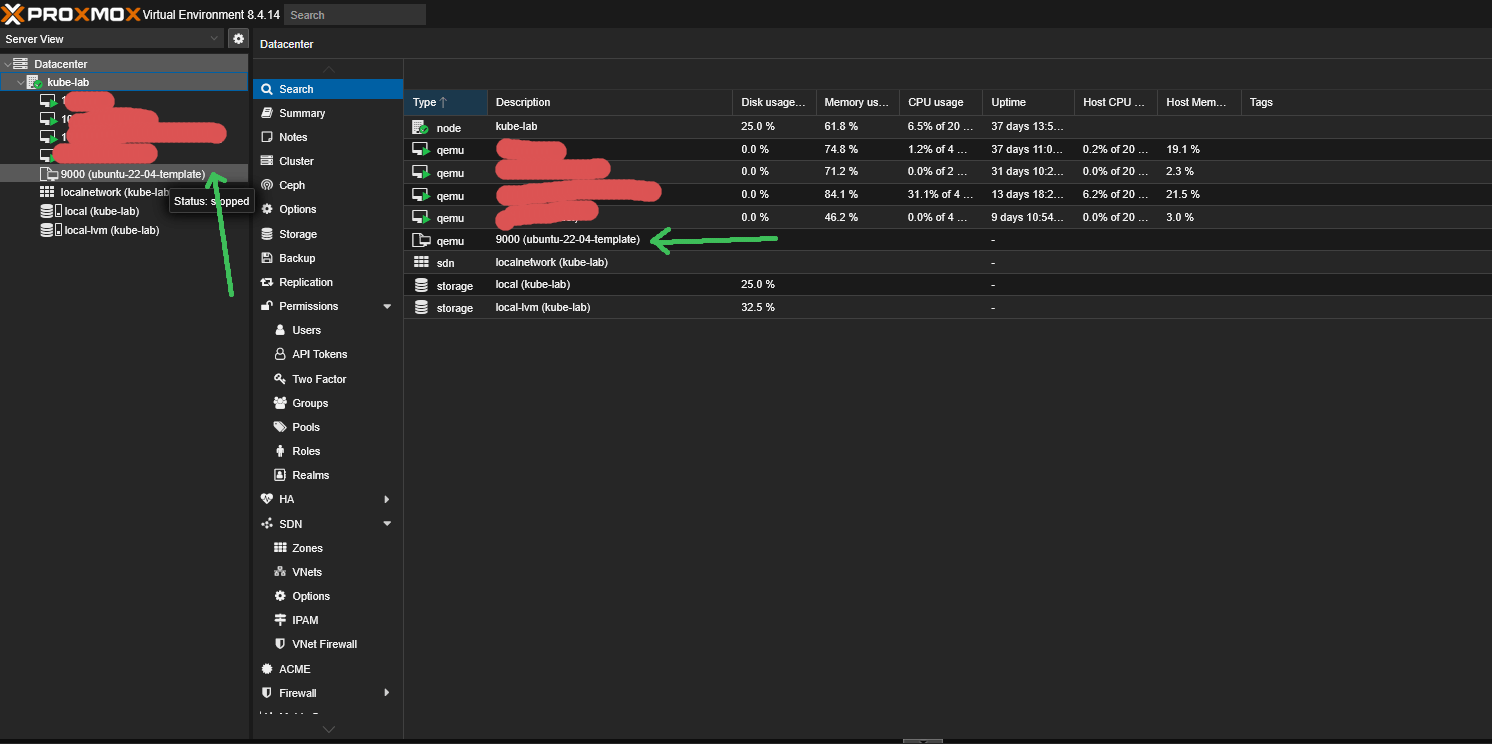
- After login, create a new personal organization (e.g.
kube-lab). - Inside the org, create a new workspace (e.g.
proxmox-stage). Choose CLI-driven workflow — we’ll run Terraform locally, but state will be remote.
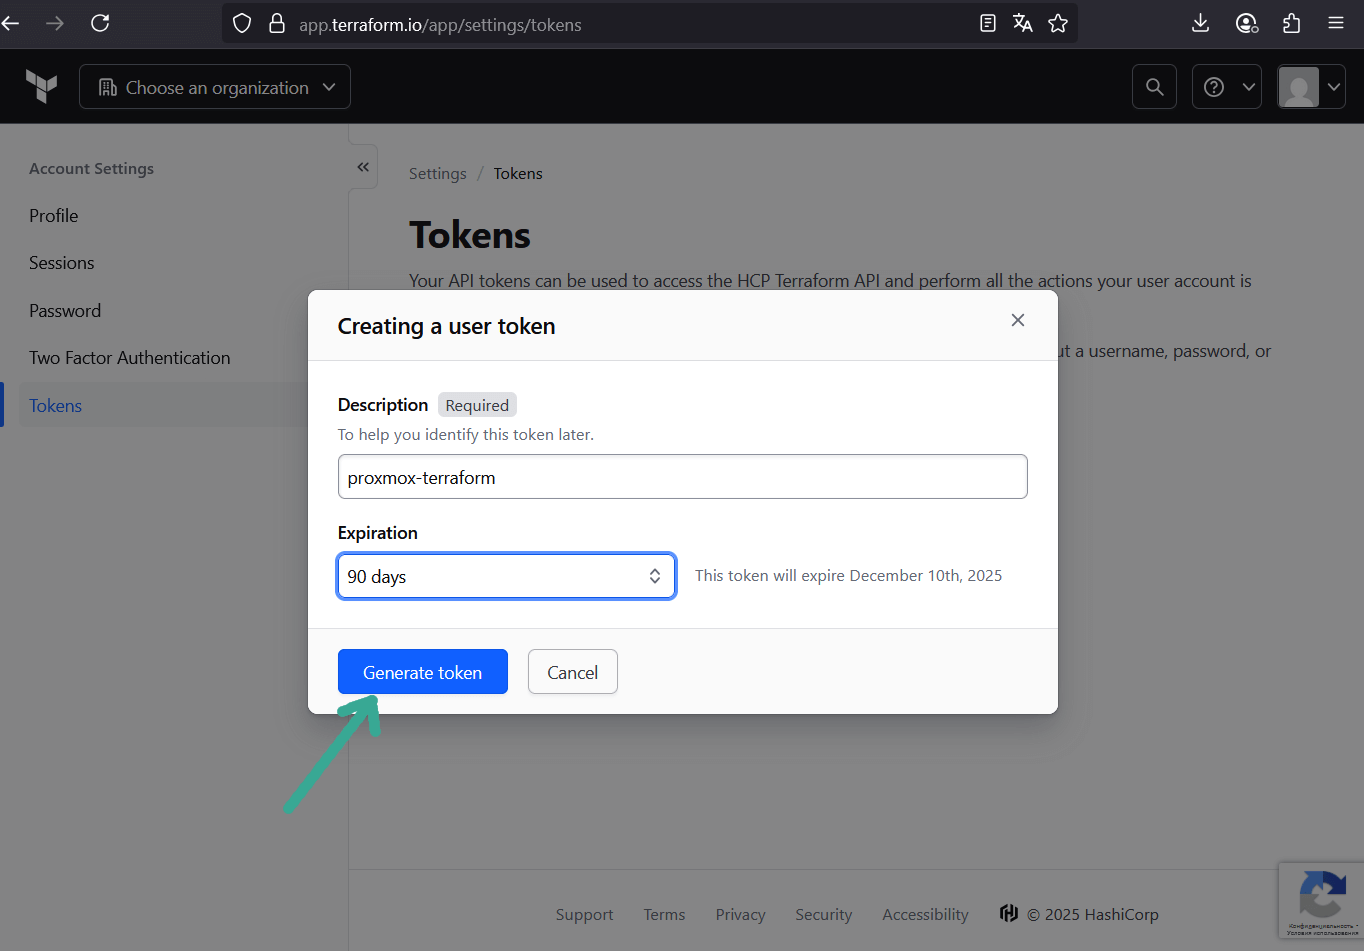
1.3 Generate an API token
In Terraform Cloud UI:
- Go to User Settings → Tokens → Create API token.
- Copy the token — this is your credential for Terraform CLI.
Save it in~/.terraformrc(or~/.terraform.d/credentials.tfrc.json):
credentials "app.terraform.io" {
  token = "YOUR_TERRAFORM_CLOUD_TOKEN"
}


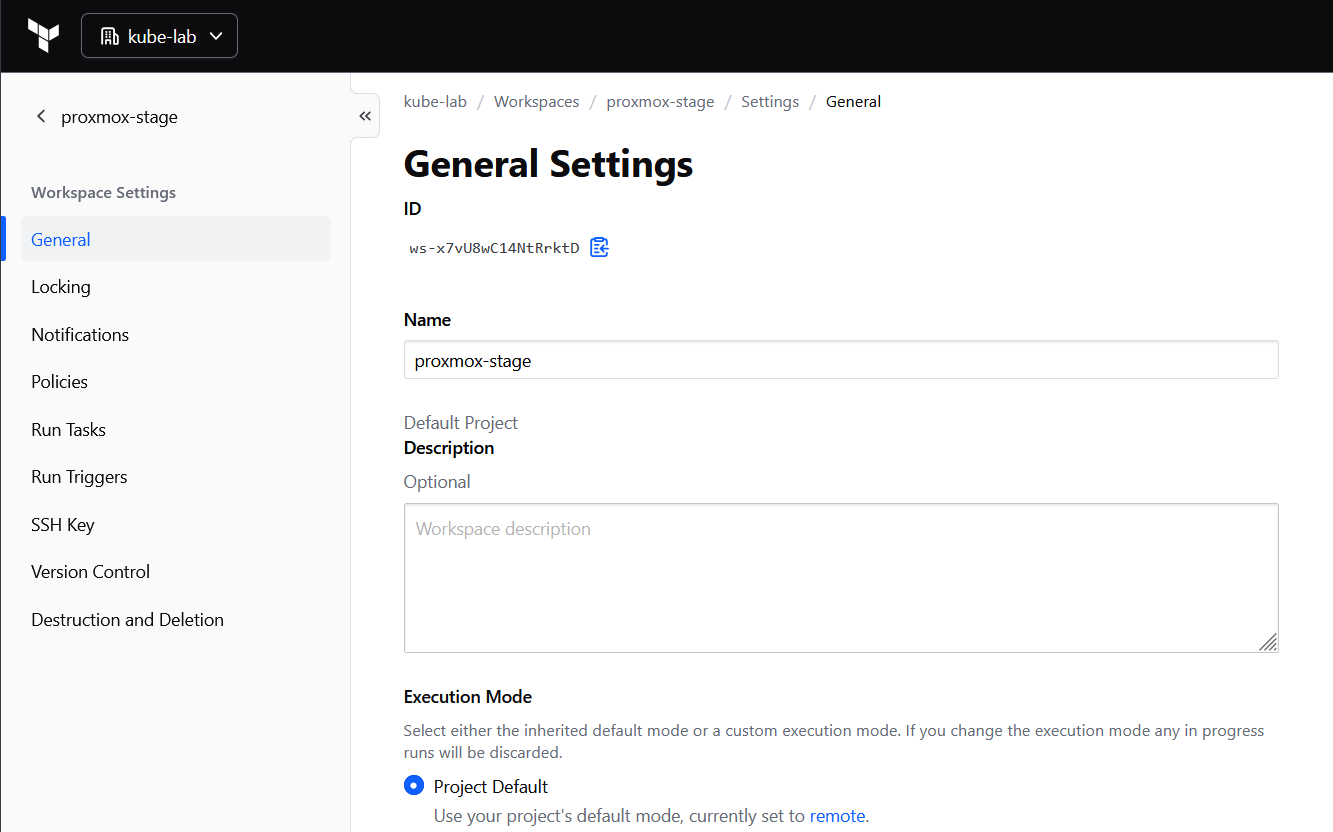
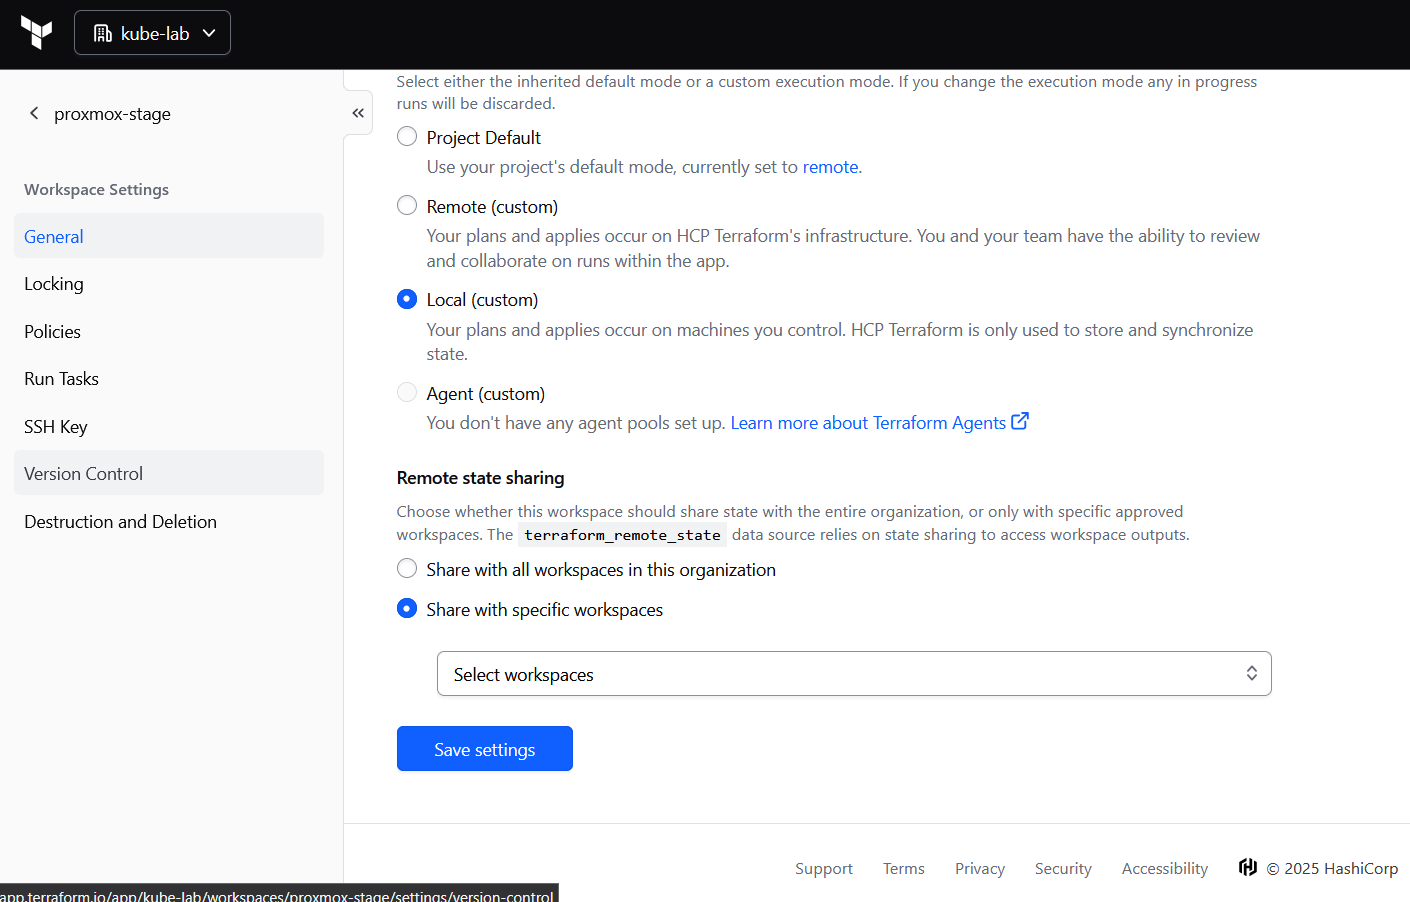
1.4 Make Sure to use Terraform Cloud Only for Remote State
By default, Terraform Cloud workspaces run in remote execution mode. That means plan and apply happen on HashiCorp’s servers — which can’t access your private SSH key we will use to upload a cloud-init snippet via bpg provider.
In Terraform Cloud UI:
- Go to Workspace → Settings → General
- Set Execution Mode = Local